
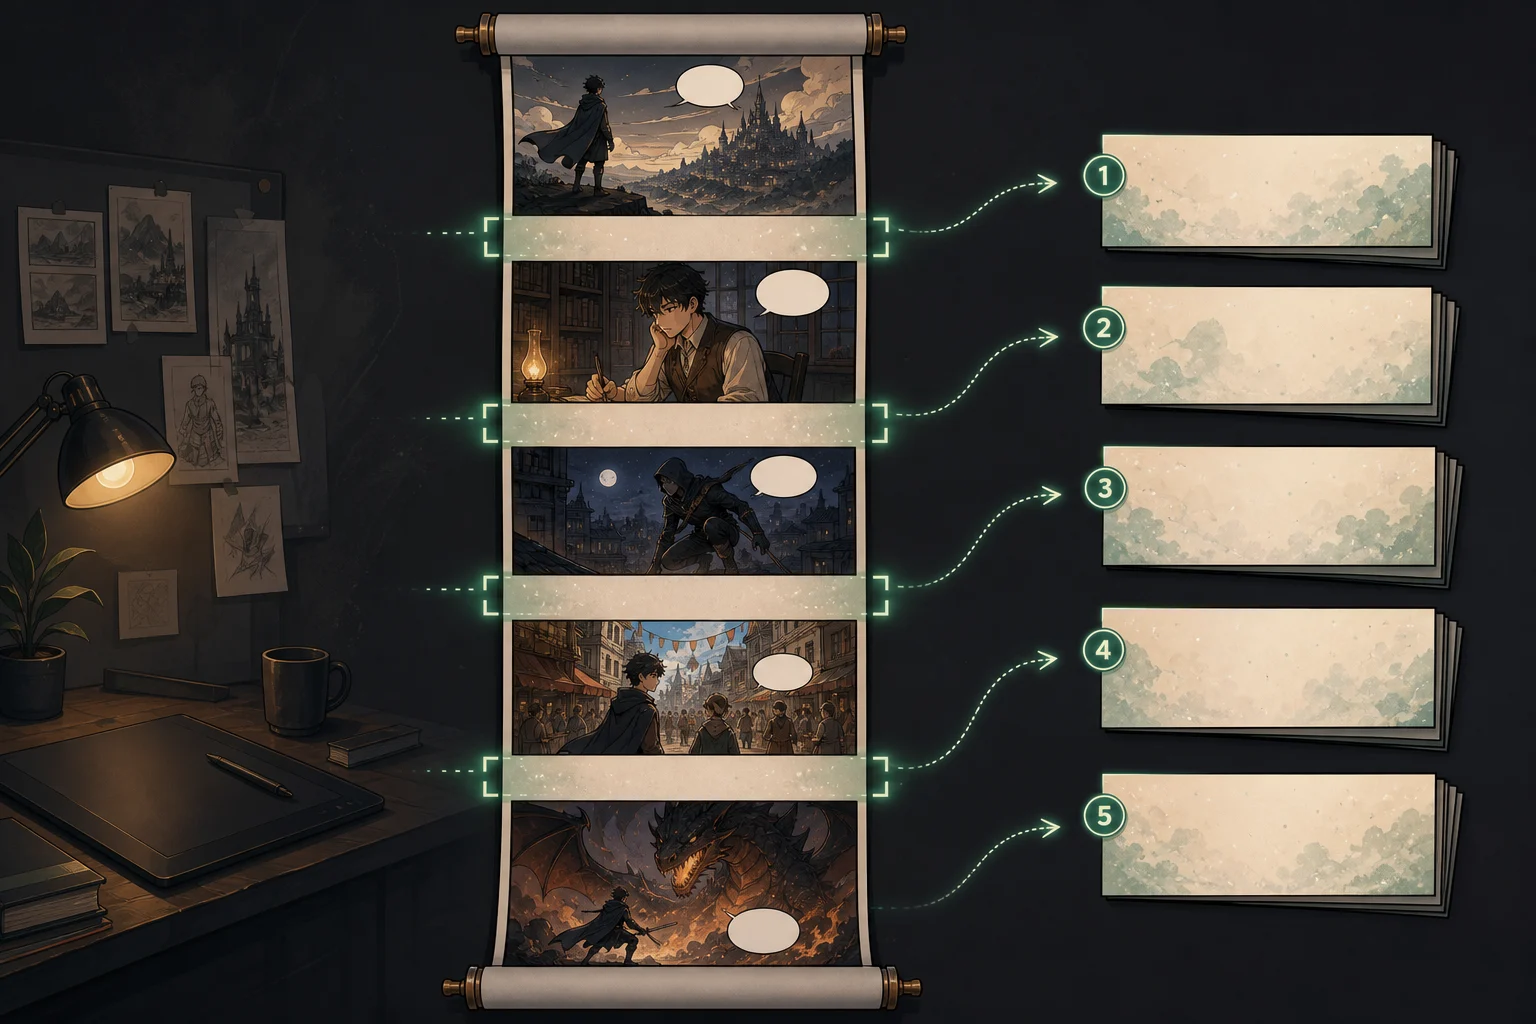
Webtoon production 01
How to Split a Webtoon Without Cutting Panels or Dialogue
A practical production guide to cutting a long vertical comic into ordered files without breaking a face, speech balloon, effect or scene transition.
Read the guideMake better production decisions before you generate: plan the story, define the shots, keep characters consistent and prepare artwork for its final format.
Editorial system
These guides focus on concrete choices: how to structure a story, what belongs in a visual brief, where to cut a vertical comic and when to revise before generating more images.
01
Planning
Plot, audience, page turns and scene objectives.
02
Visual direction
Shots, character anchors, composition and readable artwork.
03
Production
Export checks, webtoon slices and practical revision steps.
A practical production guide to cutting a long vertical comic into ordered files without breaking a face, speech balloon, effect or scene transition.
Read the guide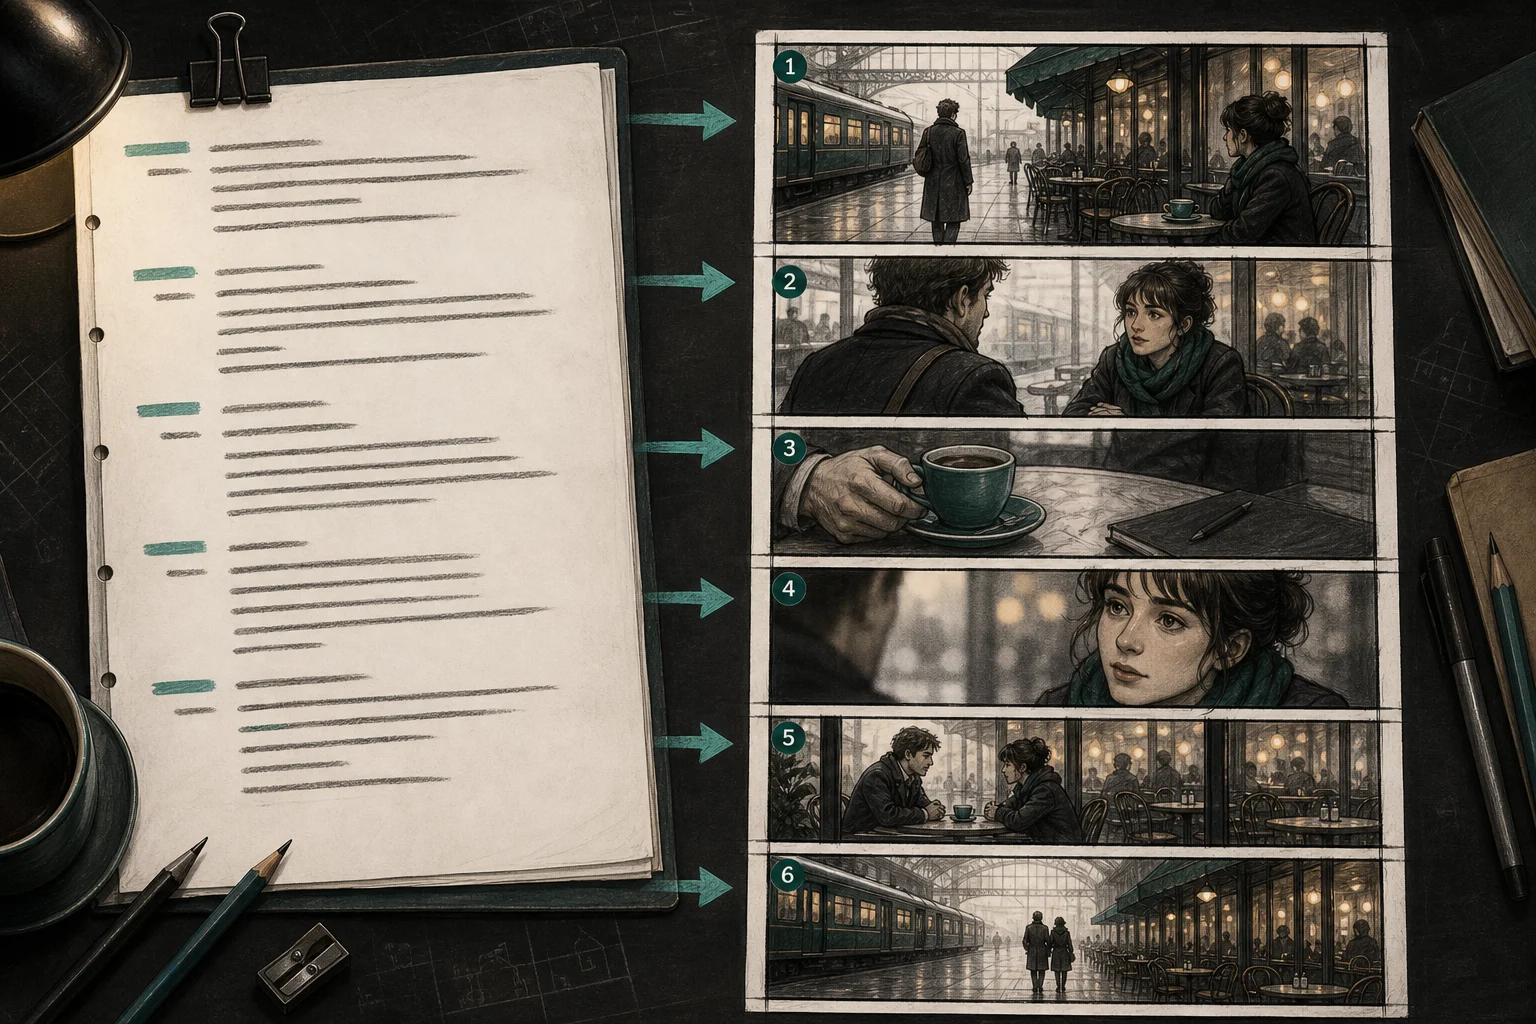
A scene-by-scene method for converting script action into shots that another director, artist or animator can understand and revise.
Read the guide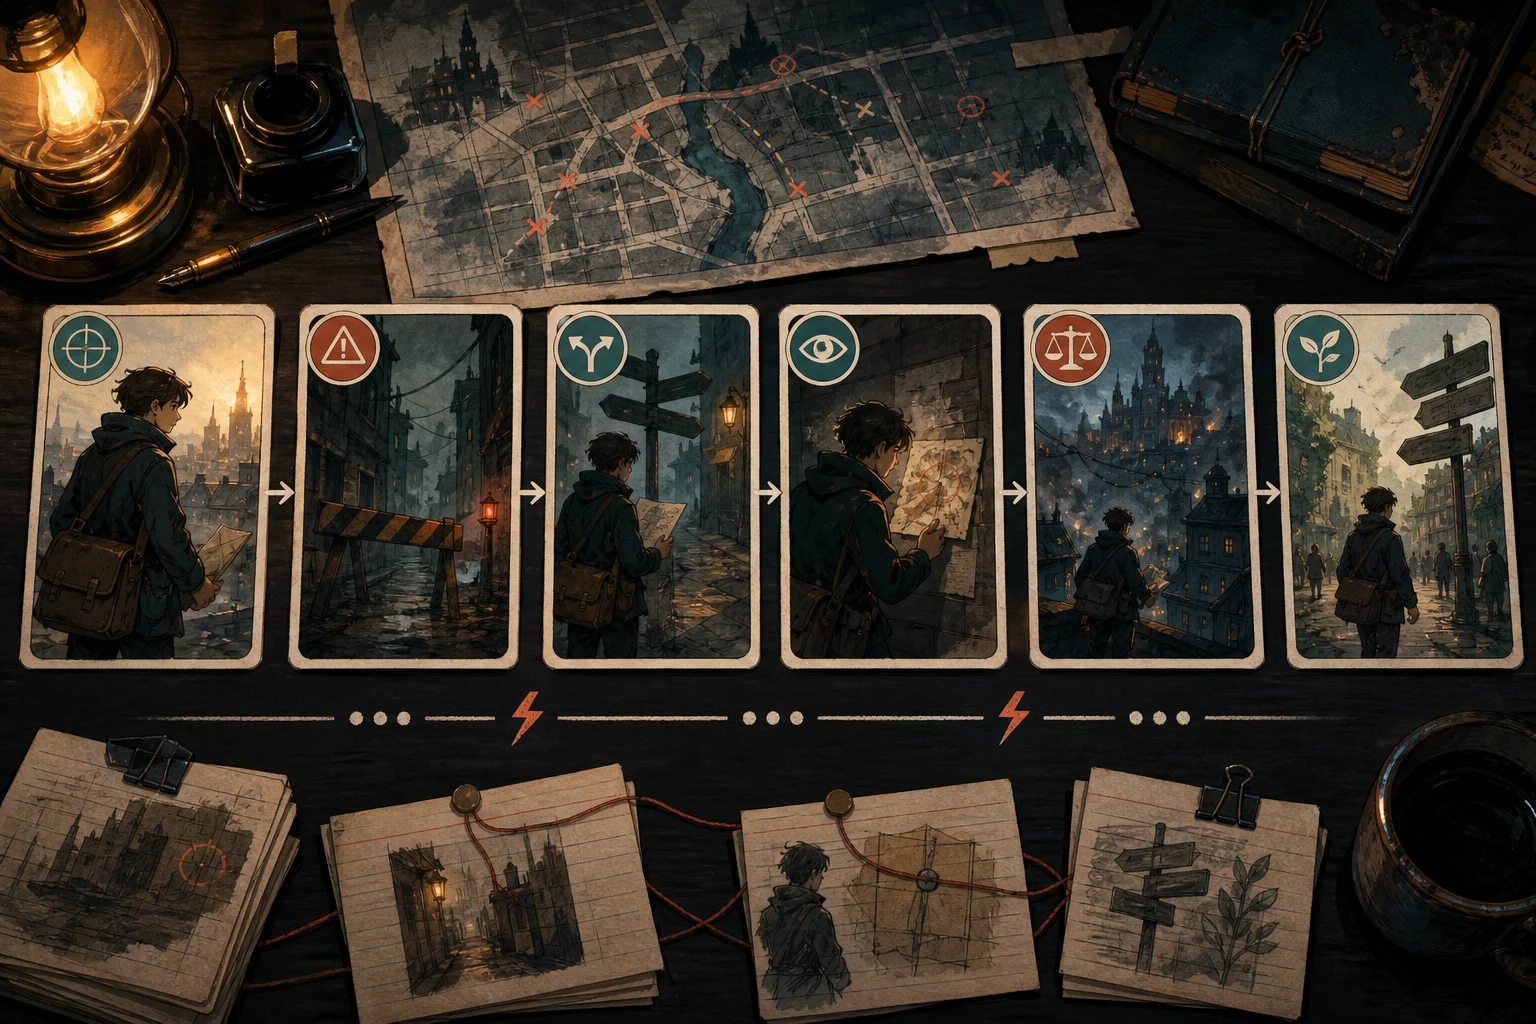
A practical outline method built around cause, choice and consequence—not a list of events that happen to the protagonist.
Read the guide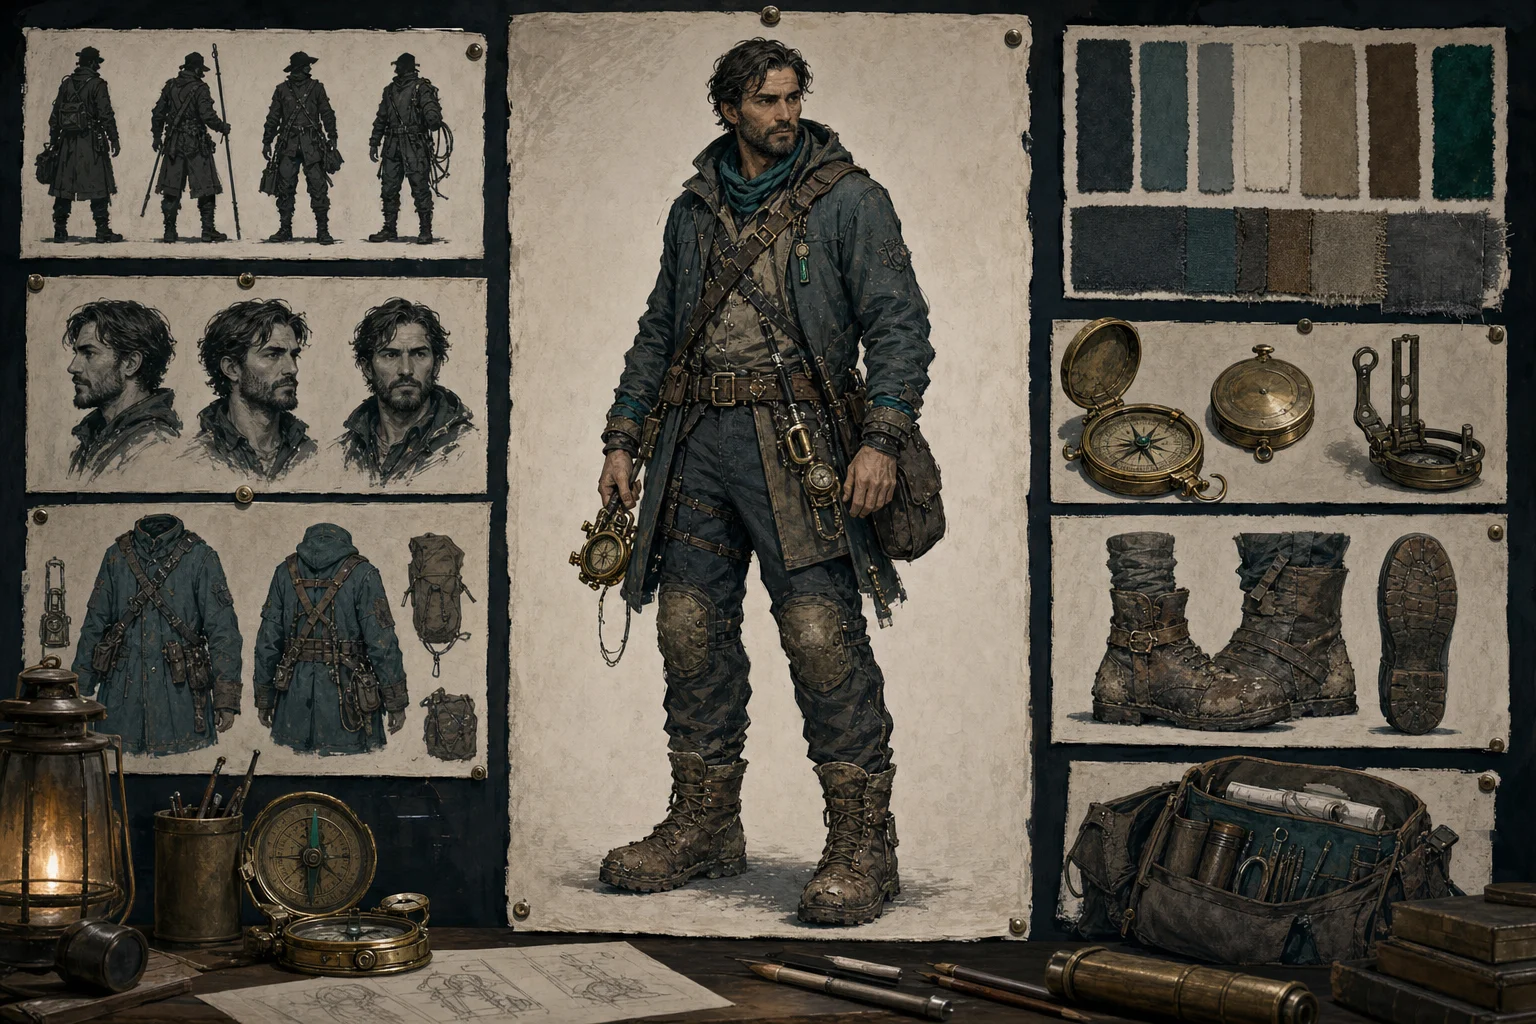
A practical bridge between character writing and visual design, with concrete decisions another artist or image model can review.
Read the guide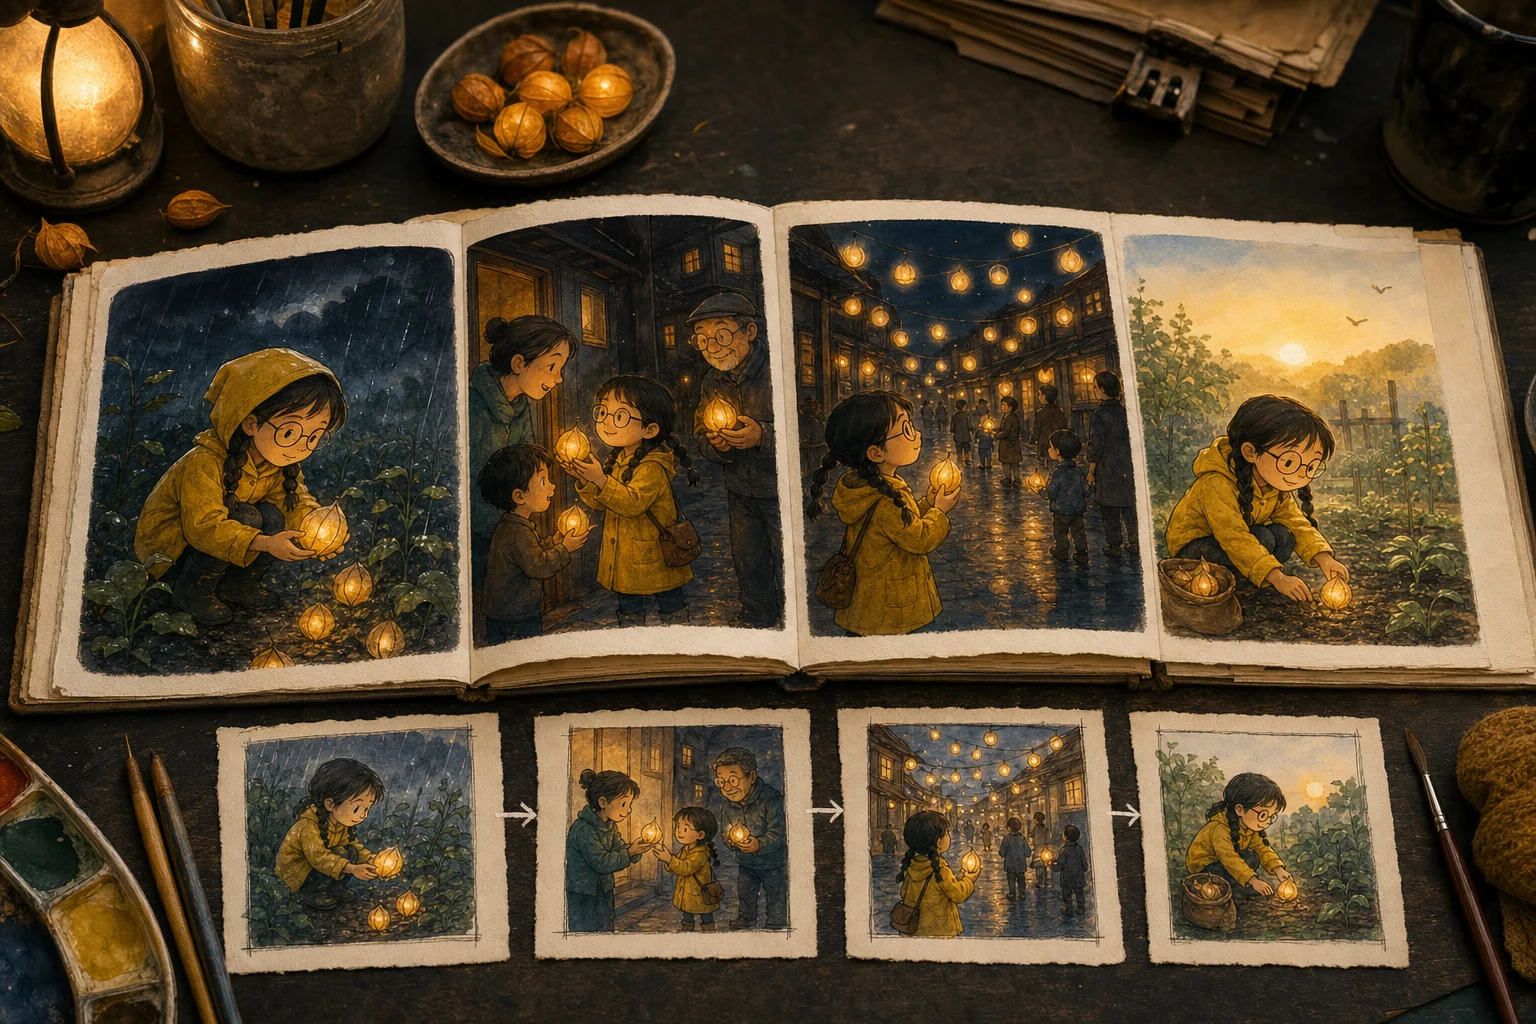
A page-by-page method for shaping a short children's story, separating words from pictures and keeping characters consistent.
Read the guideA practical guide to turning scenes, dialogue, panel beats, and camera notes into cleaner comic outputs.
A three-panel strip needs a setup, a change, and a payoff. Name the character, location, visible action, and mood. Then give each panel one job.
Keep dialogue out of the image prompt when exact wording matters. Generate the art first, then add text with the Studio speech-bubble editor. Repeat clothing, hair, and prop details in every beat when character continuity matters.
When free draft tools are enough, and when private projects, references, and production workflows matter.
Comics Maker can split a scene into panel beats in the browser before an image job is queued. That is enough to test pacing, layout, and whether the idea fits one page.
Image generation uses the active model's credit cost. A 3-panel Build queues three jobs; a 2x2 Build queues four. Generate one selected panel first when you are still testing the visual direction. Failed jobs retry up to two attempts and receive a credit-ledger refund after the final failure.
Check the Pricing page for the live plan names and checkout options. Do not choose a plan based on a vague promise of “unlimited” output; estimate how many panel jobs the current project actually needs.
Choose three-panel strips, 2x2 story pages, and single panels without losing the reader's eye.
Use a single panel for one reaction or establishing image. Use a 3-panel strip for setup, turn, and payoff. Use 2x2 when the reader needs four equal beats or two parallel actions.
In Studio, the 3-panel dividers can be dragged to change emphasis. A wider final panel gives the payoff more room; a narrow middle panel can make the interruption feel quick. Keep captions and bubbles away from faces and the main action, and check the reading order at mobile width before exporting project data.
Where template-first design tools shine, and where prompt-led comic generation can move faster.
A template editor is useful when you already have artwork and need dependable typography, brand assets, and final-page layout. Comics Maker is useful earlier: planning a scene, generating panel drafts, testing layouts, and keeping prompt and character notes with the page.
The current Comics Maker export is JSON project data, not a finished print PDF. If the job depends on exact fonts, brand-locking, or press-ready output, finish the generated panels in a dedicated layout tool. If the bottleneck is getting from a written scene to reviewable visual beats, start in the comic workflow and hand off after the art direction is approved.