
How to Storyboard a Script Into Clear, Editable Shots
A scene-by-scene method for converting script action into shots that another director, artist or animator can understand and revise.
Written and reviewed by Comics Maker Editorial
Direct answer
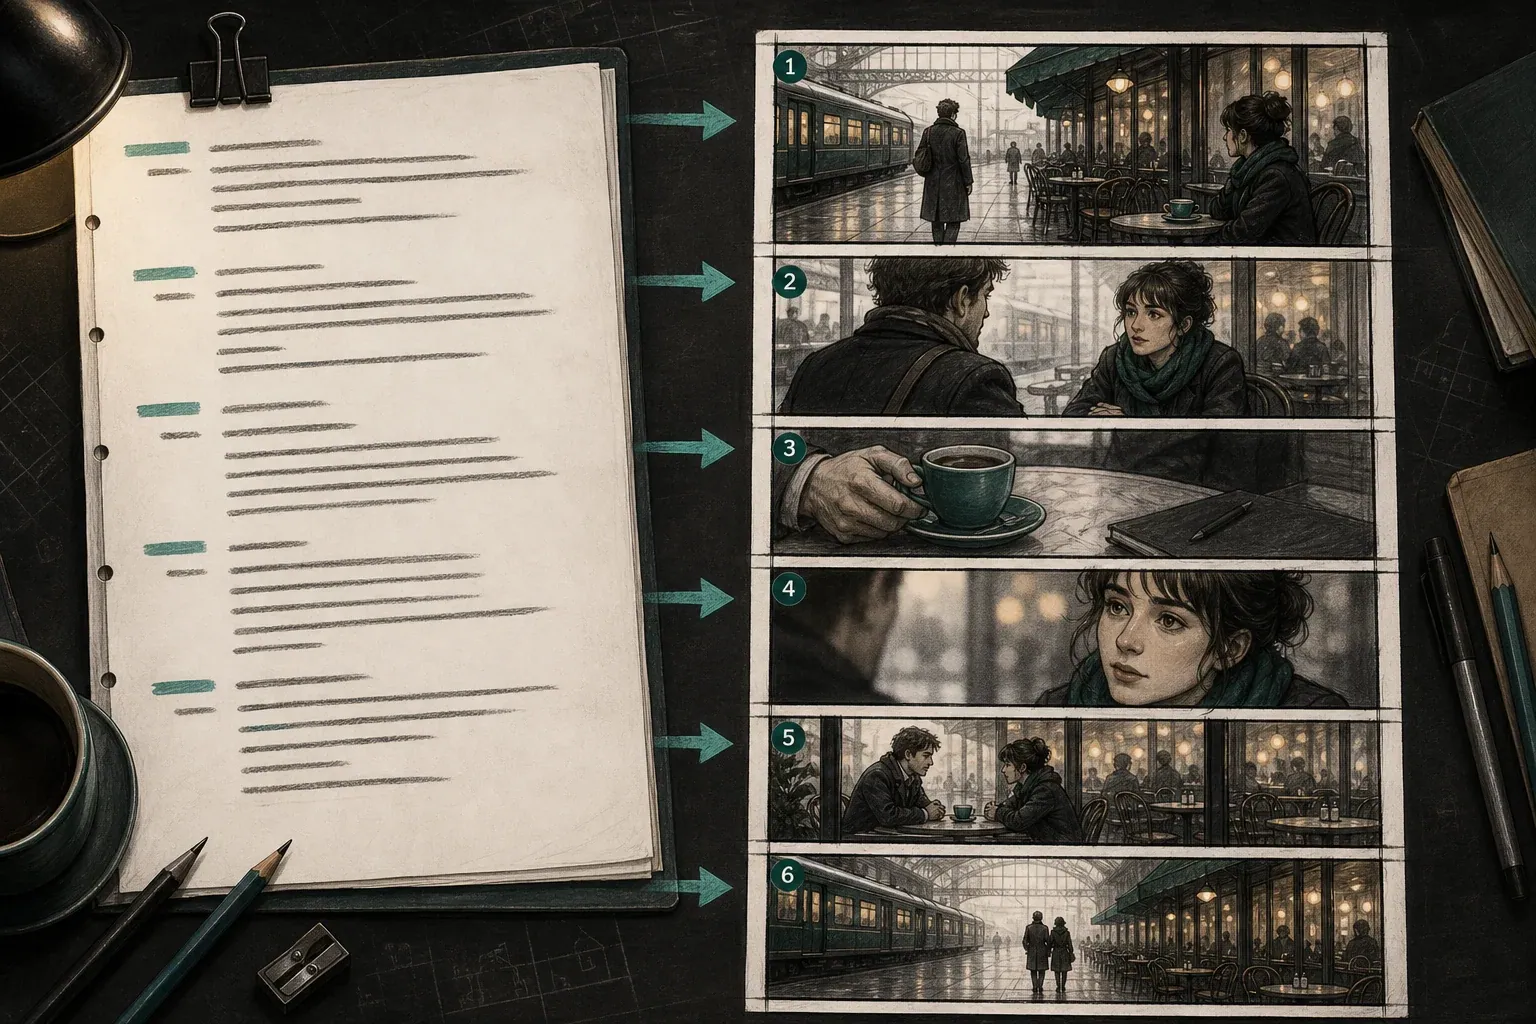
Storyboard one script scene at a time. Mark each visible change, turn those changes into a shot list, and choose the camera framing and position that make each moment clear. Add continuity, dialogue and sound notes before drawing or generating frames. A useful storyboard explains action, space and emotion; it does not need finished artwork.
What to get right
- Create the storyboard one scene at a time and state where the scene stops.
- Give every shot a visible job: establish, reveal, compare, react or close.
- Review screen direction, eyelines, props, wardrobe and dialogue space before images.
- Keep the shot list editable so weak coverage can be fixed without redrawing everything.
Product claims were checked against the current Comics Maker workflow on the date shown above. External references are used for publishing and craft guidance; generated output still requires human review.
Start with one scene and one dramatic change
A full screenplay contains too many locations, characters and continuity states to storyboard accurately in one pass. Begin with a single scene. Copy the scene heading, visible characters, current location, time, important production props, action and dialogue. Then write one sentence describing what changes by the end. If nothing changes, the scene may need revision before it needs camera coverage.
Remove information the camera cannot show. A private memory, a hidden plan or a paragraph of history must become behavior, dialogue, a visible object or a later reveal. Do not invent an insert merely to decorate the board. An object deserves its own shot when the audience needs to notice, compare or remember it.
Adobe describes a storyboard as a sequence of drawings that visually communicates a script and notes that clarity matters more than drawing finish. That is a useful standard: a rough frame with a precise action and camera note is more useful than polished art that leaves the crew guessing.
Break the scene into visual beats before choosing shots
A story beat ends when action, information, emotion, viewpoint or spatial understanding changes. In a café-platform scene, the beats might be: establish the waiting character and platform direction; introduce the late arrival; reveal a brass key; compare it with a key on a bag; register recognition; end before the character speaks. That sequence gives the storyboard a reason to cut.
Write the beats as verbs. ‘Mara waits’ is visible. ‘Mara feels abandoned’ is not yet a shot; show her checking the clock, putting away a second cup or turning the unused chair toward the table. When two neighboring beats communicate the same information, combine them. When one beat contains several locations or sequential actions, split it.
- Establish where everyone is.
- Show the action that changes the scene.
- Isolate information the audience must notice.
- Give important reactions their own time only when they alter the next choice.
- End on the beat that hands the viewer into the next scene.
Build a shot list that can survive revision
For each beat, record a shot number, subject, visible action, shot size, camera position, movement, estimated duration, dialogue or sound, and continuity note. StudioBinder's shot-list guidance includes scene and shot numbers, description, shot size, angle, movement and other production details. You may need fewer fields for a comic or early animation board, but the core idea remains: the image and the reason for the image should stay connected.
Start with simple coverage. A wide shot explains geography. A medium shot supports interaction and body language. A close-up isolates a reaction or required object. An over-the-shoulder frame joins a viewer, a subject and an eyeline. Camera movement needs a concrete purpose—pan to reveal, track with action or push toward a realization—not a label such as ‘dynamic.’
The AI storyboard generator creates an editable shot list before any frame images are requested. That order matters because changing a camera note costs less than rebuilding a finished illustration.
| Shot | Best use | Question to ask |
|---|---|---|
| Wide | Geography and movement | Can the viewer tell where people and exits are? |
| Medium | Interaction and body language | Does the relationship read without explanation? |
| Close-up | Reaction or evidence | What new detail earns this emphasis? |
| Insert | Object needed for story logic | Will the audience need to remember or compare it? |
Check continuity and dialogue space across adjacent frames
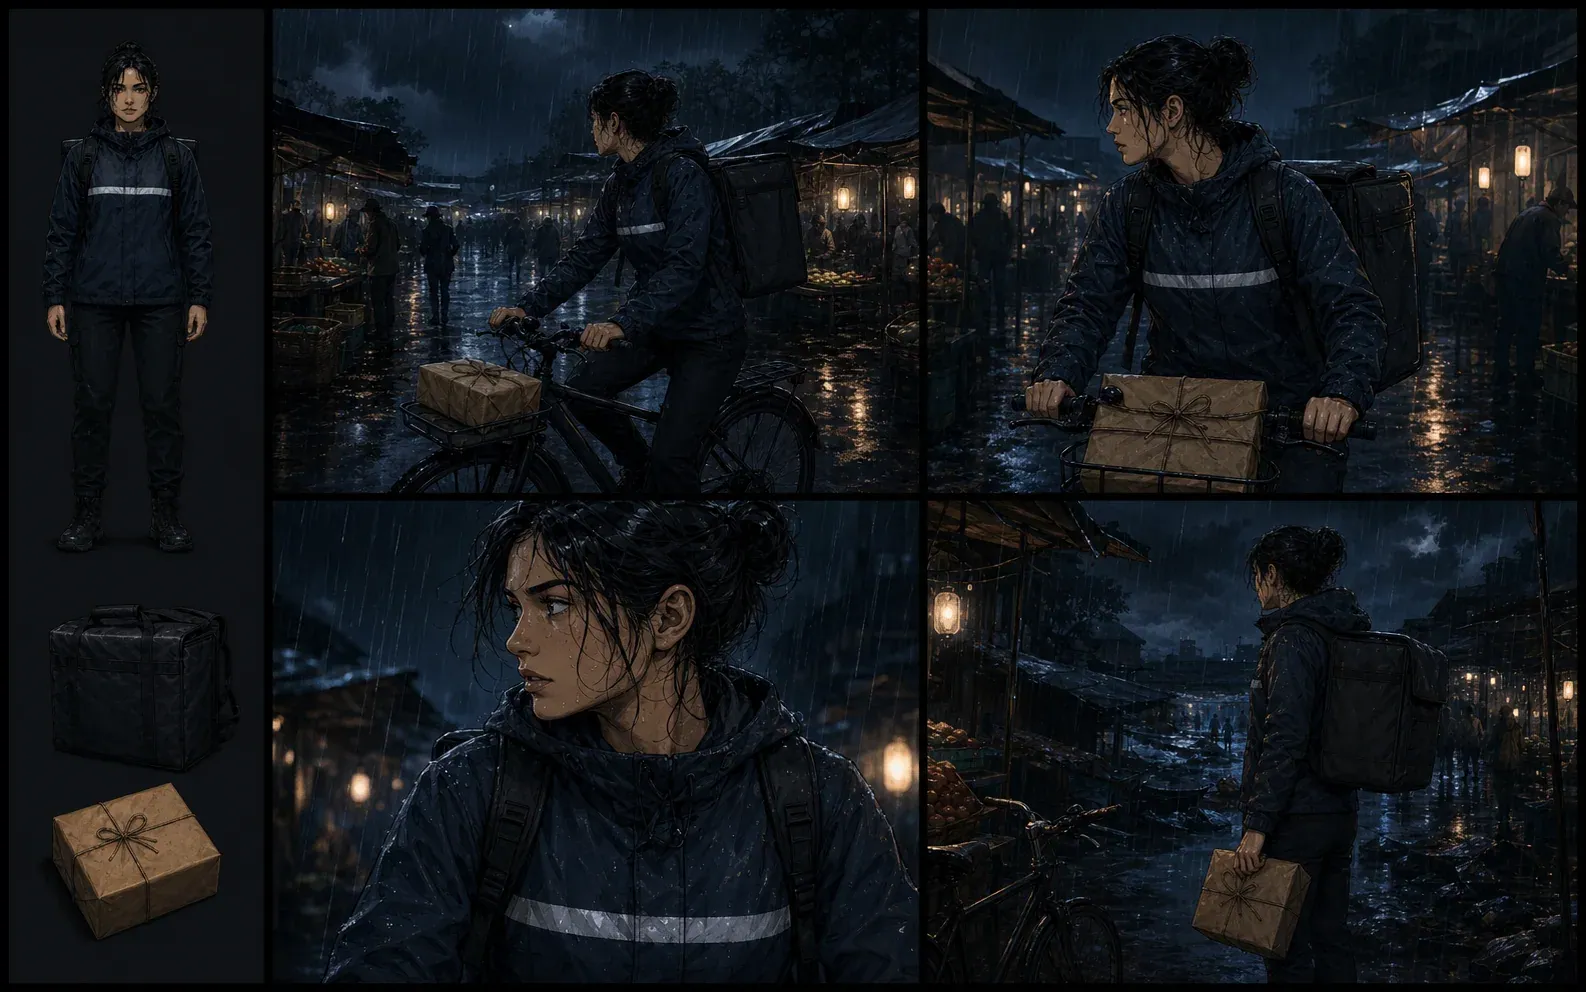
Review the board as pairs, not isolated images. Track which side of frame a character faces, where they enter, which hand holds a prop, how wet a coat is, whether a chair moved and where the strongest light falls. A beautiful close-up can still break the sequence if it reverses the eyeline without motivation.
Keep dialogue as editable text. Reserve negative space near the speaker, but do not bake final balloons into an early frame. A vertical board and a wide cinematic board need different placement. If the script changes, separate dialogue can move while the drawing remains usable.
Generate or draw frame drafts after the shot logic works
Frame drafts test composition; they are not final art. A rough drawing, photo reference or generated image can reveal whether the subject is readable at the chosen size and whether the edit has enough spatial continuity. Generate only the shots that need visual proof first: the geography shot, the reveal and the hardest reaction or action.
If one frame fails, correct its action, camera or continuity note before trying again. Do not regenerate the whole sequence because one hand or prop drifted. Export the board with the source scene and editable notes so the next collaborator can understand why each shot exists.
Storyboard mistakes that make a scene harder to produce
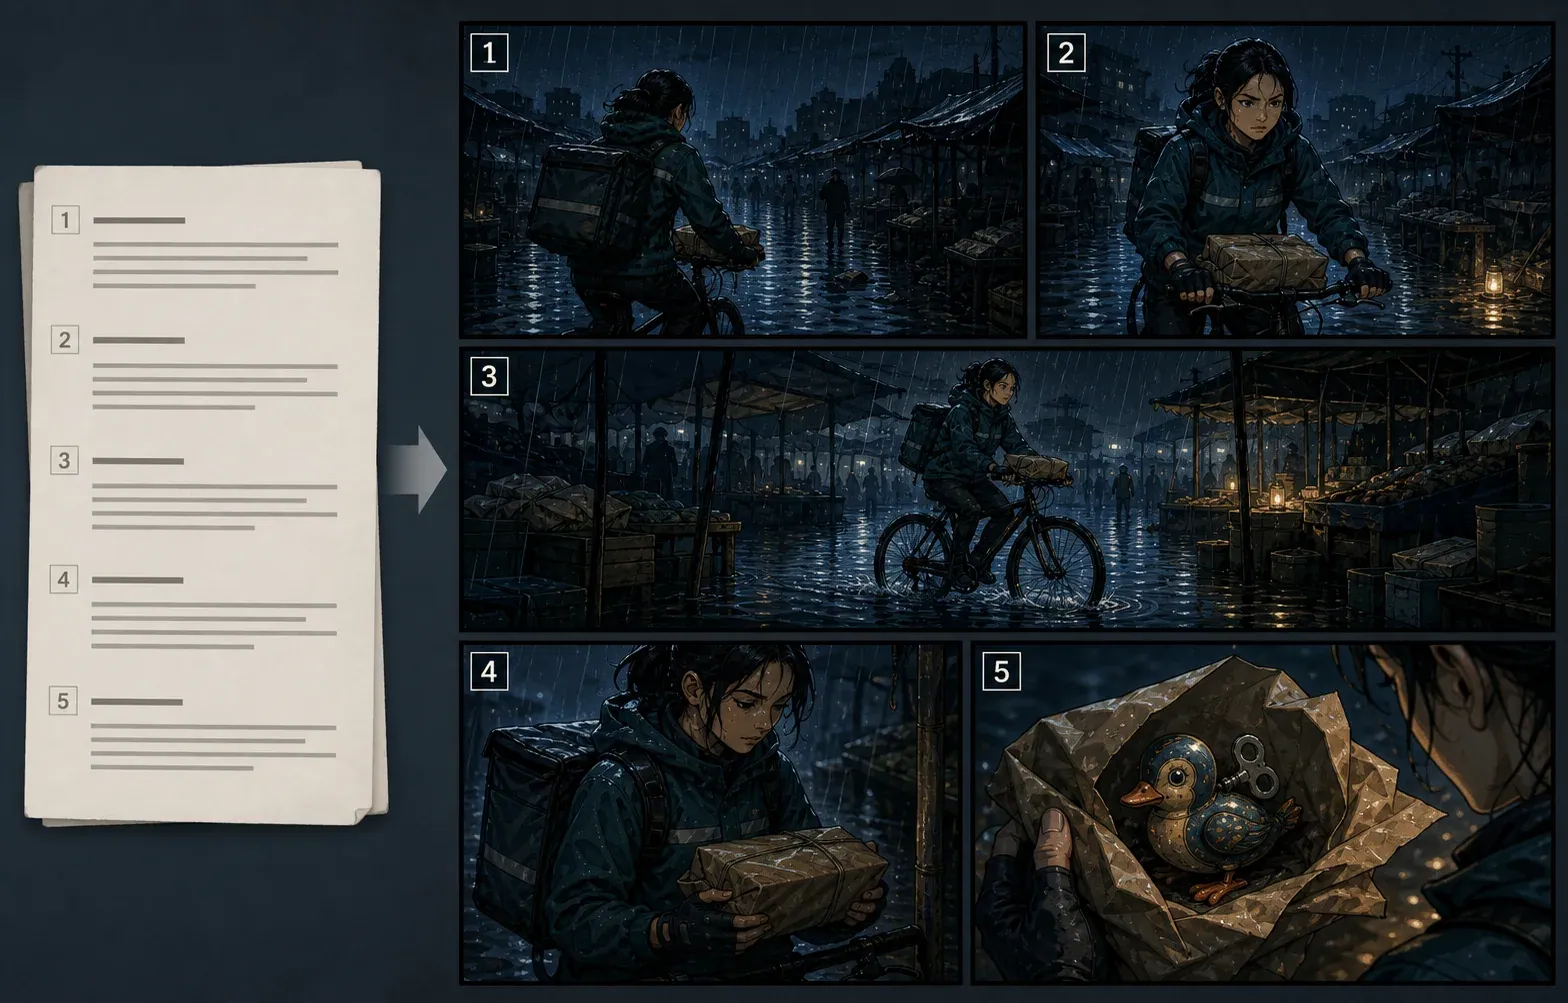
Too many shots create busy coverage without adding information. Repeating the same medium angle makes the storyboard visually repetitive. Starting with close-ups hides geography. Decorative low angles and camera moves add work without changing meaning. Another common problem is letting generated frames decide continuity after the fact instead of writing the fixed details first.
Finish by reading only the images, then only the notes. The image sequence should communicate the major action without the script beside it. The notes should be specific enough that another person can challenge or revise a decision. If either pass fails, the board is not ready for handoff.
Next steps
Continue with the right production tool
Turn the scene into editable shots
Generate a shot list, revise camera and continuity notes, then request selected frame drafts.
Open the AI storyboard generatorWrite the comic script first
Define pages, panels, visible action, dialogue, captions and lettering needs before boarding.
Use the comic script makerPlan one finished panel
Move from early coverage into a focused comic composition after the scene is approved.
Open the comic panel generatorSources
References used
External references support specific workflow claims. Product behavior is described from the implemented Comics Maker pages.
- Adobe: How to get started on storyboarding
Overview of storyboards as visual script communication and the role of shot choice.
- StudioBinder: Shot Planner and shot-list fields
Production-oriented reference for the information commonly recorded in a shot list.
FAQ
Common questions
How many frames should a storyboard scene have?
Use the fewest frames that communicate every meaningful change. A simple reveal may need three shots; a scene with geography, action, evidence and reaction may need five to eight.
Do storyboard drawings need to look polished?
No. They need to communicate framing, action, continuity and emotion clearly enough for production decisions. Rough drawings with precise notes are valid.
What is the difference between a shot list and a storyboard?
A shot list records planned shots and their details in text. A storyboard adds a visual frame for each shot. Keeping both connected makes revision and handoff easier.
Should dialogue appear inside storyboard images?
Keep final dialogue editable outside early images. Reserve safe visual space for lettering or subtitles, then add final wording in the appropriate editing workflow.