
Biến hình ảnh thành các khung truyện tranh với AI.
Tải lên một bức ảnh, chọn hướng truyện tranh, và tạo bản nháp khung truyện cách điệu có thể chỉnh sửa, chú thích và tái sử dụng trong dự án truyện tranh.
Chuyển đổi một hình ảnh nguồn
PNG, JPG, hoặc WebP lên đến 5MB. Yêu cầu đăng nhập và 2 tín dụng.
Mực truyện tranh màu
Một lần chuyển đổi tốn 2 tín chỉ. Một công việc thất bại cuối cùng sẽ được đánh dấu thất bại và được máy chủ hoàn tiền.
Sử dụng hình ảnh rõ nét với một chủ thể chính. Kết quả là một cách diễn giải, ví dụ như đánh giá khuôn mặt, tay, logo và chi tiết sản phẩm.
Định nghĩa
biến hình ảnh thành truyện tranh là gì?
Công cụ chuyển hình ảnh sang truyện tranh biến hình ảnh đã tải lên thành khung truyện tranh hoặc chuỗi truyện tranh bằng cách sử dụng định hướng phong cách, tạo hình ảnh và chỉnh sửa chú thích tùy chọn.
Trả lời ngắn
Khi nào nên dùng quy trình này.
Hãy sử dụng quy trình này khi bạn bắt đầu từ một hình ảnh thay vì lời nhắc văn bản và muốn có một biến đổi truyện tranh hiển thị trước và sau.
Biến ảnh tham khảo thành bản nháp phong cách truyện tranh.
Dùng hình ảnh làm bối cảnh nguồn, chọn hướng truyện tranh, và tạo ra một khung tranh cách điệu vẫn theo sát chủ đề hoặc cảnh gốc.

Biến một bức ảnh thành khoảnh khắc hài hước ngắn.
Một bức ảnh có thể trở thành một khung truyện đơn lẻ, một nhịp phản ứng, hoặc hạt giống cho một truyện ngắn khi kết hợp với chú thích và ý tưởng câu chuyện đơn giản.
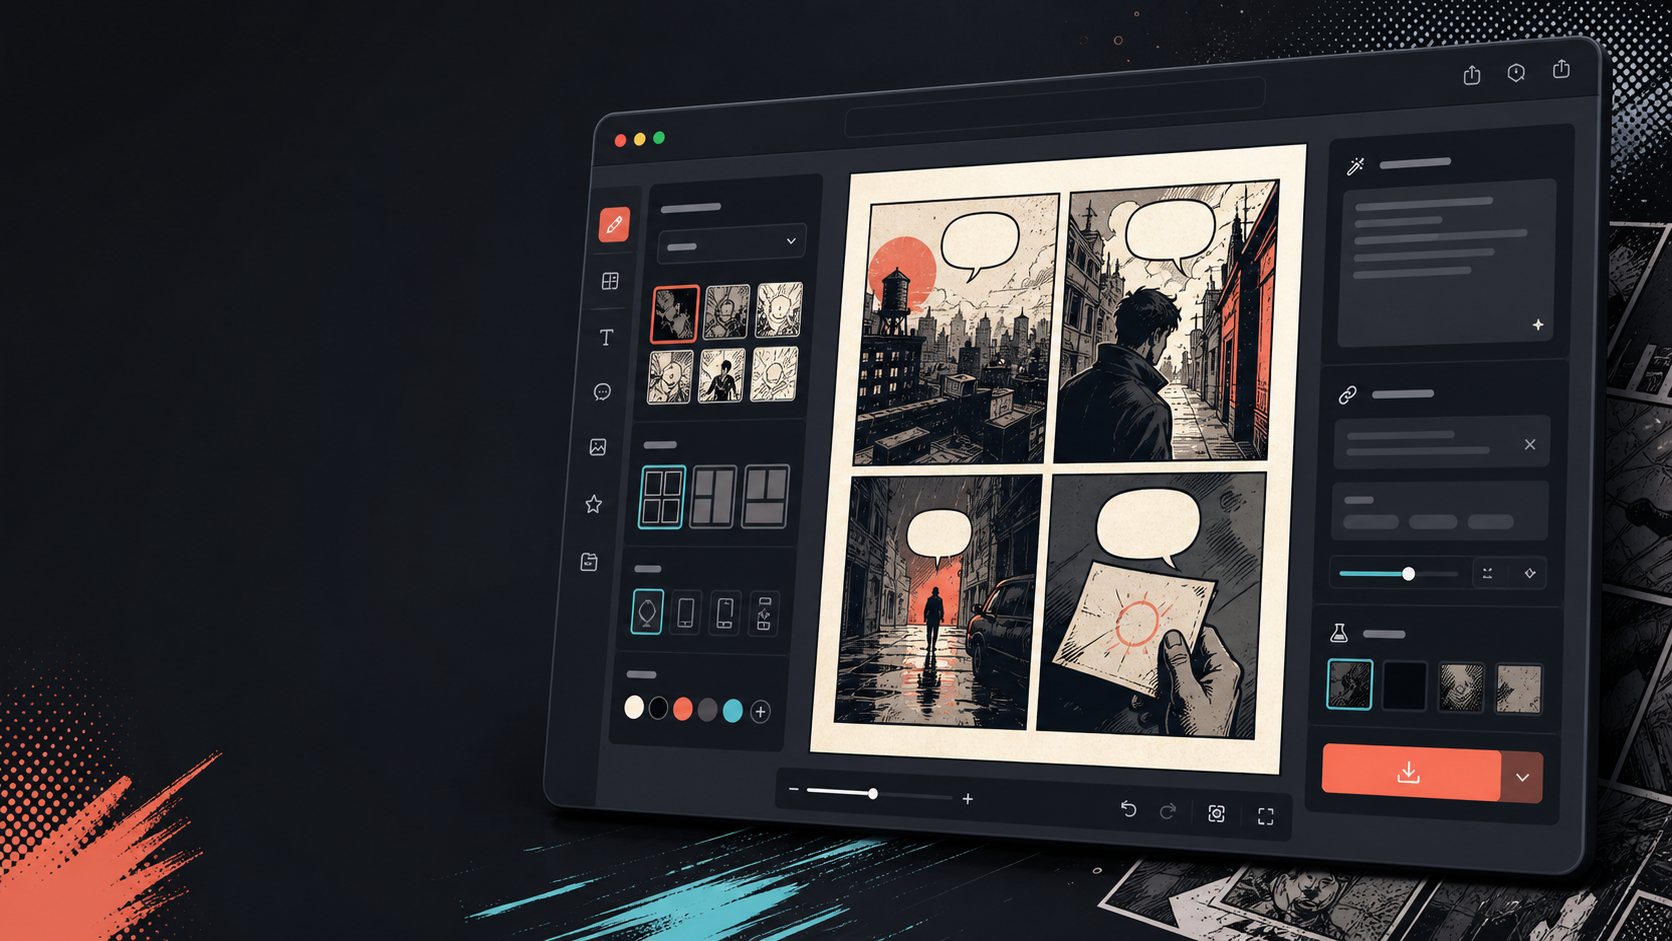
Thêm chú thích, bong bóng và bố cục sau khi hình ảnh thay đổi.
Chuyển đổi hình ảnh chỉ là bước đầu tiên. Hoàn thiện khung truyện bằng cách thêm hội thoại, lời dẫn hoặc bố cục trang truyện tranh.

Được thiết kế cho một tác vụ làm truyện tranh thực tế.
Người dùng đã có ảnh hoặc ảnh tham khảo và muốn biến nó thành cảnh truyện tranh, truyện tranh hoặc bản nháp khung truyện cách điệu.
01
Được xây dựng cho những người dùng đã có ảnh và muốn phiên bản phong cách truyện tranh.
02
Làm cho đầu vào và đầu ra hiển thị rõ ràng để người dùng hiểu được quá trình chuyển đổi.
03
Kết hợp chuyển đổi hình ảnh với quy trình chỉnh sửa chú thích, bong bóng và dự án.
Người sáng tạo có thể làm gì ở đây.
Chọn loại dự án gần nhất, rồi mở Studio với mục tiêu bản nháp rõ hơn.
Bạn có thể phác thảo gì.
Đây là các điểm bắt đầu thực tế để xem lại, chia sẻ và tiếp tục chỉnh sửa.
Đường ngắn vào Studio.
Bắt đầu bằng bước nhỏ nhất có ích, rồi tinh chỉnh bản nháp trong trình chỉnh sửa.
Bắt đầu với các prompt biến hình ảnh thành truyện tranh này.
Dùng làm điểm bắt đầu, rồi thay nhân vật, bối cảnh và giọng điệu bằng nội dung của bạn.
Ảnh du lịch
Biến bức ảnh quán cà phê đường phố này thành một khung truyện tranh ấm áp với chú thích nhật ký du lịch ngắn.
Đầu ra: Khung truyện tranh du lịch với chỉ đạo chú thích có thể chỉnh sửa.
Truyện tranh thú cưng
Biến bức ảnh chó này thành một khung truyện tranh hài hước với không gian cho một bong bóng thoại.
Đầu ra: Bản nháp truyện tranh thú cưng đã sẵn sàng để đặt bong bóng.
Cảnh sản phẩm
Biến bức ảnh sản phẩm này thành một bảng quảng cáo phong cách truyện tranh gọn gàng với câu chuyện trước và sau đơn giản.
Đầu ra: Bảng truyện tranh marketing với bối cảnh sản phẩm được cách điệu.
Công cụ giúp bản nháp trở nên dùng được.
Quy trình làm việc ưu tiên hình ảnh
Bắt đầu từ một bức ảnh hoặc tài liệu tham khảo thật thay vì một gợi ý trống.
Đánh giá trước và sau
So sánh hình ảnh gốc và bản nháp truyện tranh trước khi chọn hướng đi cuối cùng.
Dụng cụ hoàn thiện truyện tranh
Thêm chú thích, bong bóng và lựa chọn bố cục sau khi hình ảnh đã được cách điệu.
Tiếp tục với công cụ tiếp theo phù hợp.
Thêm trang tạo truyện tranh.
Quy trình liên quan
Trình Tạo Bong Bóng Thoại Truyện Tranh
Thêm bong bóng thoại, chú thích, phần cuối và hội thoại truyện tranh dễ đọc với trình tạo bong bóng truyện tranh được thiết kế để chỉnh sửa khung truyện.
Mở trang
Quy trình liên quan
comic panel generator
comic panel generator: tạo bản nháp truyện tranh trong Comics Maker với cốt truyện, nhân vật, khung tranh, bong bóng thoại và xuất bản có thể chỉnh sửa.
Mở trang
Quy trình liên quan
AI comic maker
AI comic maker: tạo bản nháp truyện tranh trong Comics Maker với cốt truyện, nhân vật, khung tranh, bong bóng thoại và xuất bản có thể chỉnh sửa.
Mở trang
Câu hỏi thường gặp về biến hình ảnh thành truyện tranh.
Làm thế nào để tôi biến một bức tranh thành truyện tranh?
Tải lên một bức ảnh, chọn phong cách truyện tranh, tạo bản nháp kiểu truyện tranh, rồi xem lại kết quả trước và sau. Bạn có thể thêm chú thích hoặc bong bóng sau khi chuyển đổi.
Tôi có thể biến một bức ảnh thành truyện tranh không?
Đúng vậy. Một bức ảnh có thể trở thành một khung hình trước, sau đó bạn có thể xây dựng một chuỗi ngắn xung quanh nó với chú thích, phản ứng hoặc thêm các điểm cốt truyện.
Điều này có giống như một trình tạo truyện tranh AI không?
Không. Trình tạo truyện tranh AI thường bắt đầu từ văn bản. Trang này bắt đầu từ một hình ảnh và tập trung vào sự biến đổi trực quan từ hình ảnh sang khung truyện tranh.
Hình ảnh nào hiệu quả nhất?
Ảnh rõ nét với chủ thể mạnh, ánh sáng dễ đọc và phông nền đơn giản thường chuyển đổi tốt hơn so với ảnh mờ hoặc chật chội.
Tôi có thể thêm bong bóng thoại sau khi chuyển đổi không?
Đúng vậy. Sau khi hình ảnh trở thành bản nháp kiểu truyện tranh, bạn có thể thêm bong bóng thoại, chú thích hoặc hộp thuyết minh để khung truyện giống như truyện tranh.
Tôi có thể dùng nó để chụp ảnh sản phẩm không?
Đúng vậy. Ảnh sản phẩm có thể trở thành các bảng quảng cáo truyện tranh, hình ảnh trước và sau, hoặc bảng phân cảnh chiến dịch khi cảnh và thông điệp rõ ràng.
Liệu nó có giữ lại mọi chi tiết trong bức ảnh không?
Không có phép biến đổi AI chính xác. Hãy xem kết quả như một cách diễn giải theo phong cách truyện tranh và xem xét các khuôn mặt, vật thể, văn bản và chi tiết thương hiệu quan trọng trước khi sử dụng.
Tôi có thể xuất kết quả không?
Tải về hình ảnh đã hoàn thành từ chế độ xem kết quả. Studio xuất dữ liệu dự án có thể chỉnh sửa dưới dạng JSON thay vì một trang phẳng hoặc PDF sẵn sàng in.
Bắt đầu bản nháp truyện tranh tiếp theo.
Mở Studio, chọn bố cục và biến ý tưởng thành bản nháp truyện tranh có thể tiếp tục làm việc.
Thử quy trình này